Cancel QuickBooks Subscription Hassle-Free: Step-by-Step Guide
Canceling a QuickBooks subscription can be a tricky process, especially for those who are not tech-savvy. However, with a few simple steps, you can successfully end your subscription and avoid future charges. In this blog post, we will guide you through the process to “Cancel QuickBooks Subscription” step by step. First and foremost, it’s essential to understand why you might want to cancel your subscription. Then, we’ll provide you with all the information you need before you cancel. So, let’s get started and learn how to cancel a QuickBooks subscription hassle-free!
Reasons to Cancel QuickBooks Subscription
Here are some reasons why you might want to cancel QBO subscription:
- You may find them redundant if you use only some of the features QuickBooks provides.
- You might not be satisfied with the quality of customer support or the overall user experience.
- If you’re facing financial difficulties, you may be unable to afford the subscription.
- You may have found an alternative to QuickBooks that suits your business needs better.
- You may be closing your business or no longer require QuickBooks.
How to Cancel QuickBooks Subscription?
Here are the Intuit QuickBooks Cancel Subscription steps:
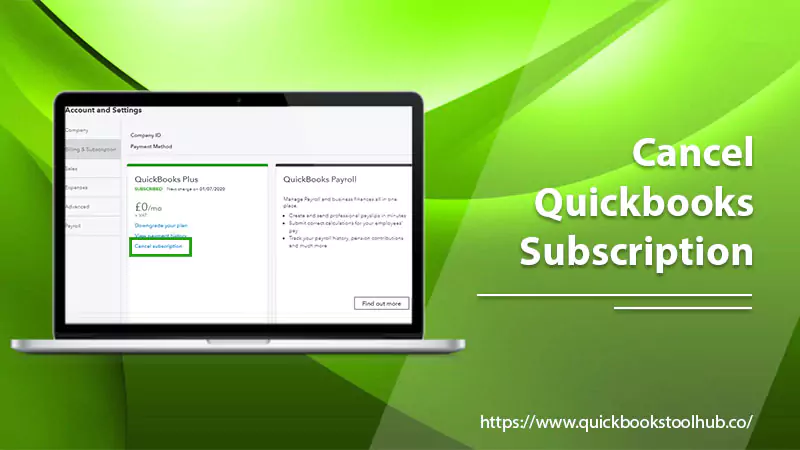
- Log in to your QuickBooks account and go to the Billing & Subscription page.
- Find the subscription you wish to cancel and then click on the Cancel link.
- Select a reason for canceling using the drop-down menu and click Continue.
- Review the details of your cancellation and click Cancel QuickBooks Subscription.
- Confirm your cancellation by clicking the checkbox and then clicking Continue to complete the process.
- If you have any outstanding payments, you’ll need to pay them before the cancellation is finalized.
- Once the cancellation is finished, you’ll get a confirmation email from QuickBooks.
Read About:- QuickBooks Alternatives
Essential Tips to Follow Before Canceling QuickBooks Subscription
Before QuickBooks Online cancel subscription process, there are a few things you should do to ensure a smooth transition:
Download Your Data
Before cancel QuickBooks subscription, you should export all of your data from QuickBooks Online. This ensures that you have a backup of your financial records, which can be helpful if you need to access them in the future.
- Log in to your QuickBooks account and go to the Gear icon in the top right corner.
- Click on “Export Data” which is under the “Tools” section.
- Select the data range you want to download and choose the data you want to include in the export.
- Click on “Download”.
Check For Outstanding Charges
To cancel QuickBooks subscription, review your account for any outstanding charges. If there are any unpaid fees, you’ll need to settle them before canceling.
- Log in to your QuickBooks account and go to the Billing & Subscription page.
- Check your recent transactions to ensure that all charges have been accounted for.
- If you have any outstanding charges, pay them before canceling your subscription.
- To pay outstanding charges, click the Pay Now button next to the charge and follow the payment process.
Review Your Subscription
It’s essential to understand the terms of your subscription before canceling. Review the cancellation policy and any other relevant information, such as how to access your data after canceling.
- Log in to your QuickBooks account and go to the Billing & Subscription page.
- Review your subscription details, including the subscription plan, renewal date, and payment information.
- For any discounts or promotions that you may have applied to your subscription.
- Review the cancellation policy and any other relevant information, such as how to access your data after canceling.
- Ensure you have all the necessary information, such as your login credentials and the terms of your subscription.
Cancel Any Auto-Renewal
If you have automatic renewal enabled, turn it off to avoid future charges. For this go to your account settings. The following are the steps to take prior to cancel QuickBooks subscription.
- Log in to your QuickBooks account and go to the Billing & Subscription page.
- Find the subscription you want to modify and click on the Edit link.
- Scroll down to the Renewal and Payment section and click the Edit link next to the Automatic Renewal option.
- Select the Off option in the Automatic Renewal dialog box and click on Turn Off.
- Review the cancellation details and click on Confirm to complete the process.
Read About:- QuickBooks Online Essentials
Conclusion
It is necessary to cancel QuickBooks subscriptions c for many business owners. Before canceling, it’s essential to understand the reasons why you might want to cancel, such as financial difficulties or finding a better alternative. It’s also important to take the necessary steps before canceling, such as exporting your data, checking for outstanding charges, and reviewing your subscription.
By following the how to cancel intuit QuickBooks subscription steps, you can ensure a smooth and hassle-free cancellation process while avoiding any potential issues. If you’re unsure about the cancellation process or have any questions, don’t hesitate to contact our customer support for assistance. Thank You!
FAQs
Q. Will canceling my QuickBooks subscription delete my data?
A. No, canceling your QuickBooks subscription does not automatically delete your data. Your data will still be accessible until the end of the current subscription period. If you want to delete your data, you must do so manually before canceling your subscription.
Q. Can I get a refund if I cancel my QuickBooks subscription?
A. Yes, you can receive a refund for the unused portion of your subscription if you cancel within the first 60 days of your subscription. After that, you will not be eligible for a refund.
Q. Can I still access my data after canceling my QuickBooks subscription?
A. Yes, you can still access your data after canceling your QuickBooks subscription. However, you cannot perform any new transactions or make any changes to your data.
Q. Can I cancel my QuickBooks subscription at any time?
A. Yes, you can cancel your QuickBooks subscription at any time. However, if you cancel in the middle of a billing period, you will not receive a prorated refund for the remaining time.
Q. What happens to my data if I don’t export it before canceling my QuickBooks subscription?
A. If you don’t export your data before canceling your QuickBooks subscription, you can no longer access it once your subscription ends. It’s important to export your data before canceling to keep a copy for your records or use it in another accounting software application.
0 Comments